Introduction
Pixlr AI is an online picture editor that provides a number of tools for image creation and modification, such as a text-to-image generator and an AI infill tool. It is quick and simple to use, and it makes use of cutting-edge machine learning technology to produce montages that seem like single shots. Users may add objects, colours, and fonts to their photographs to make them unique to them.
Also read: Elevate Your Writing: The Top 14 AI Paraphrase Tools Redefining Creativity and SEO Excellence!
What are some other features of Pixlr AI?
You may create and modify photographs with the aid of several capabilities provided by Pixlr AI. Among the salient characteristics are:
- AI Infill Tool: This tool makes it simple to eliminate undesired items or people from your photos by using machine learning to fill in the background of your picture.
- Text-to-Image Generation Tool: With the help of this tool, you can quickly and easily generate visually captivating images by turning your words into beautiful graphics.
- Smart Resize: You can resize your photos using the Smart Resize feature without sacrificing their quality or detail.
- Bokeh Effect: This effect gives your photos a gentle, blurred backdrop so that your subject stands out.
- Glitch Effect: This effect gives your photos a distinctive and edgy appearance by digitally distorting them.
Pixlr AI provides a large variety of image editing capabilities, such as filters, effects, cropping, and scaling, in addition to these functions. Its cutting-edge machine learning technology allows you to produce breathtaking montages that appear to have been filmed in a single take. Pixlr AI can quickly and easily be used to create beautiful photographs in a matter of seconds.
How can I use the AI Infill Tool in Pixlr AI?
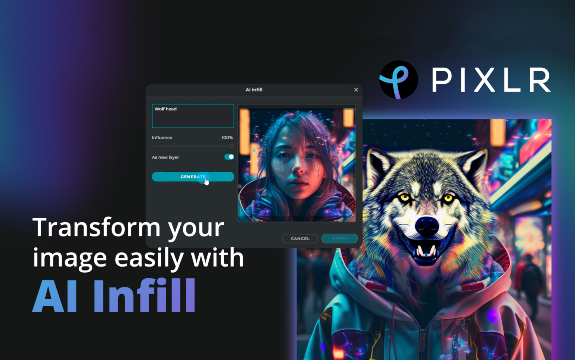
Use Pixlr AI’s AI Infill Tool by doing the following:
- Click “Open Image” to import the picture you wish to alter into the Pixlr Editor, or choose “Create New” to start from scratch.
- To choose the area you wish to fill, use the “Selection” tools, which include the Lasso, Marquee, and Magic Wand. By holding down the Shift or Alt keys and dragging to add or remove sections, you may modify the selection.
- After making your choice, pick “AI Infill” from the “Edit” option in the top toolbar. A preview of the outcomes and the AI Infill settings will show up in a new window.
- The “Structure” and “Colour” sliders in the AI Infill options window allow you to fine-tune the filling process. Colour modifies the colour match, whereas Structure determines the degree of detail. Examine the outcomes to determine the ideal ratio.
- Click “Apply” to complete the adjustments if you’re happy with the preview. The chosen area will be filled by the AI Infill, which will blend in perfectly with the surrounding material. Go to “File” > “Save” to save your altered picture.
Machine learning-powered Pixlr’s AI Infill tool can magically fill in the spaces between photos to give the impression that they were never separated in the first place. The tool consistently yields results that seem professional thanks to its high-quality output.
How can I use the Text-to-Image Generation in Pixlr AI?
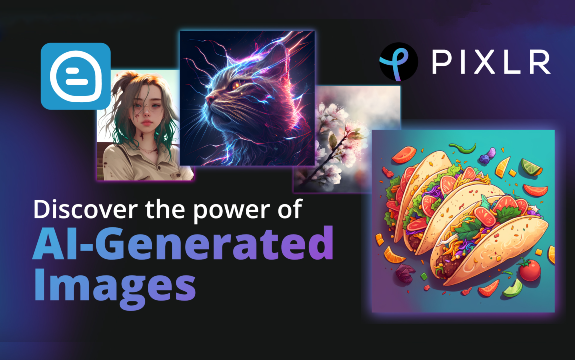
Use Pixlr AI’s Text-to-Image Generation Tool by doing the following:
- Go to the Pixlr website to use the Pixlr AI Image Generator.
- Choose the aspect ratio that you want for your picture.
- Select a theme and style that work best for your project.
- Put in the text that needs to be turned into a picture.
- To generate the picture, click “Generate.”
- After the picture is created, click the “Save” button to save it in the JPEG, PNG, or TIFF format of your choice.
With the help of Pixlr’s machine learning-powered Text-to-Image Generation Tool, you can quickly turn your words into beautiful images. The tool creates stunning, one-of-a-kind, and captivating photographs using the most recent advancements in AI technology.
Also read: What Makes Perchance AI Image Generator Process Unique?
You may match your style with a vast array of fonts, colours, and components to personalize your photographs. Because of how quickly and simply it can be used, this tool is highly recommended for bloggers, social media marketers, and anybody else wishing to inject some originality into their personal projects. Try it out and see what you can come up with!
How can I use the Smart Resize in Pixlr AI?
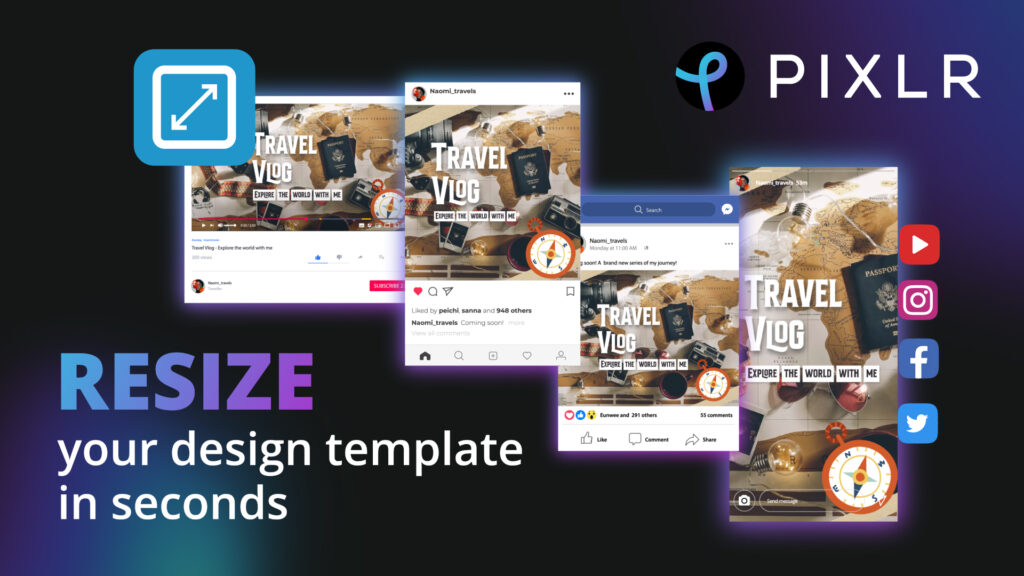
Use Pixlr AI’s Smart Resize Tool by doing the following:
- Go to the Pixlr website to use the Pixlr AI Image Generator.
- Choose the aspect ratio that you want for your picture.
- Select a theme and style that work best for your project.
- Put in the text that needs to be turned into a picture.
- To generate the picture, click “Generate.”
- After the picture is created, click the “Save” button to save it in the JPEG, PNG, or TIFF format of your choice.
The Pixlr Resize Image Generator and the Smart Resize Tool are two different tools. Use the Smart Resize Tool by doing the following actions:
- To resize a picture, open the Pixlr Editor and select “Open Image.” Alternatively, choose “Create New” to start from scratch and create a fresh blank canvas.
- After your picture has loaded, select “Smart Resize” from the “Image” menu in the top toolbar. The Smart Resize parameters and a preview of the outcome will show up in a new window.
- You may change the image’s dimensions in the Smart Resize settings box by entering the required width and height values. Additionally, you may enter unique measurements or select from a list of commonly used sizes.
- Choose an image focus point that you wish to emphasize while resizing.
- This guarantees that the Smart Resize tool will keep the overall quality of the image while preserving the most significant details surrounding the focal point.
- Examine the outcomes to determine the ideal ratio of size to quality.
- Click “Apply” to complete the adjustments if you’re happy with the preview. Your image will be resized using the Smart Resize tool while maintaining its aspect ratio and focus point.
- Go to “File” > “Save” to save your altered picture.
The Smart Resize Tool on Pixlr is an effective tool that makes it simple and quick to resize your photographs. Image resizing for websites, print media, and social media is a breeze with it. The programme resizes your photos to the correct proportions while maintaining image quality thanks to sophisticated algorithms.
How can I use the Bokeh Effect in Pixlr AI?
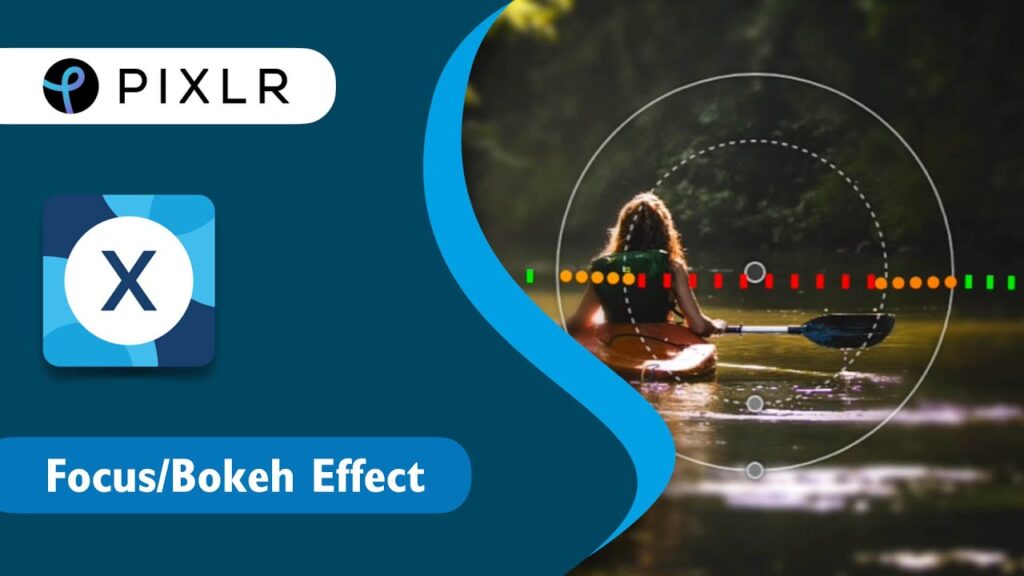
Use these procedures to apply the Bokeh Effect in Pixlr AI:
- Use Pixlr AI to open your image.
- From the Effects menu, choose the “Bokeh” effect.
- To specify the region of the picture that you like to remain in focus, use the “Focus Area” tool.
- To control the blur, using the “Blur Strength” slider.
- To determine the ideal ratio of focus to blur, see the results.
- Click “Apply” to complete the adjustments if you’re happy with the preview.
The Bokeh Effect feature on Pixlr is a fantastic way to give your photos a more polished look. It mimics the regions that are out of focus in an image captured at a short depth of field. The instrument generates excellent results and is simple to operate. To get the ideal appearance for your photo, you may tweak the effect by changing the blur strength and focus area. Try it out and see what you can come up with!
Can I use Pixlr AI for free?
Yes, Pixlr AI provides a range of free online tools for designing and editing photos that leverage AI technology to improve your photos and produce amazing creations. The AI Infill Tool, Text-to-Image Generation Tool, Smart Resize Tool, and Bokeh Effect Tool are just a few of the tools in the suite. These resources are available on the Pixlr website without charge.
Also read: Top 10 Free AI Photo Generator – The AI Knowledge
Keep in mind that Pixlr also has a paid edition with more features and functionalities. On the other hand, you may modify your images and make lovely patterns with the free version. Try it out and see what you can come up with!
Here some example of Pixlr Alternatives
There exist several choices if you’re seeking for substitutes for Pixlr. Below are a few of the top ones:
- GIMP: Layers, masks, brushes, filters, and other image editing tools are just a few of the features and tools available in the free and open-source GIMP image editor. free anyone looking free a robust picture editor without having to pay for it, this is a fantastic choice.
- Adobe Photoshop: Professionals use Adobe Photoshop, a well-known image editor, extensively. Layers, masks, brushes, filters, and other tools are among the many features and functions it provides. It is, nonetheless, a paid programme.
- Photopea: Layers, masks, brushes, filters, and other tools are just a few of the features and tools available in Photopea, a free online image editor. For those seeking a potent picture editor without needing to download any programme, it’s an excellent choice 2.
- Paint.NET: Paint.NET is a Windows-compatible, free image editor. Layers, masks, brushes, filters, and other tools are just a few of the many features and tools available. free anyone looking free a robust picture editor without having to pay for it, this is a fantastic choice
- BeFunky: Layers, masks, brushes, filters, and other image editing tools are just a few of the features and capabilities available in this free online image editor. It’s a fantastic choice for anyone who want a strong picture editor without needing to download any other software.
- Affinity Photo: Layers, masks, brushes, filters, and other image editing tools are just a few of the features and capabilities available in the premium programme Affinity Photo. For those looking for an image editor of the highest calibre, it’s an excellent choice.
- Photoscape: For Windows users, Photoscape is a free image editor. Layers, masks, brushes, filters, and other tools are just a few of the many features and tools available. For anyone looking for a robust picture editor without having to pay for it, this is a fantastic choice.
- Polarr: Layers, masks, brushes, filters, and other image editing tools are just a few of the features and tools available in Polarr, a free online image editor. It’s a fantastic choice for anyone who want a strong picture editor without needing to download any other software.
- Fotor: Layers, masks, brushes, filters, and other tools are just a few of the features and tools available in Fotor, a free online image editor. It’s a fantastic choice for anyone who want a strong picture editor without needing to download any other software.
- Sumopaint: Layers, masks, brushes, filters, and other tools are just a few of the features and tools available in Sumopaint, a free online image editor. It’s a fantastic choice for anyone who want a strong picture editor without needing to download any other software.
Conclusion
Pixlr AI is a powerful photo-editing application that uses cutting-edge AI technology to produce unique photos and graphics based on your input and preferences in real-time. It allows you to customise your photos with a wide range of fonts, colours, and features to suit your own taste. The AI Image Generator is a great useful tool that may instantly transform your ideas into stunning graphics. Furthermore, the AI Infill tool is revolutionary for graphic designers who want to add more depth and creativity to their creations. It uses AI technology to automatically apply patterns, textures, or other images to specific areas of an image based on cues.
